GitHub codebase connectivity
GitHub codebase connectivity lets you connect a repository to Alloy, run automatic Workspace Setup, and review the pull request that teaches Alloy how to boot your app.
What is GitHub codebase connectivity?
GitHub codebase connectivity lets Alloy work against a real repository instead of only a captured prototype. Once GitHub is connected, Alloy can open a live workspace, run automatic Workspace Setup, and preview changes against your actual codebase.
The current path forward is Docker Compose. Workspace Setup creates a pull request that adds the runtime files Alloy needs, usually docker-compose.alloy.yaml and .alloy/environment.json. After that pull request is merged, the checked-in environment file becomes the source of truth for how Alloy boots the repository.
Connect GitHub and choose a repository
- Open the settings dropdown in your Alloy workspace.
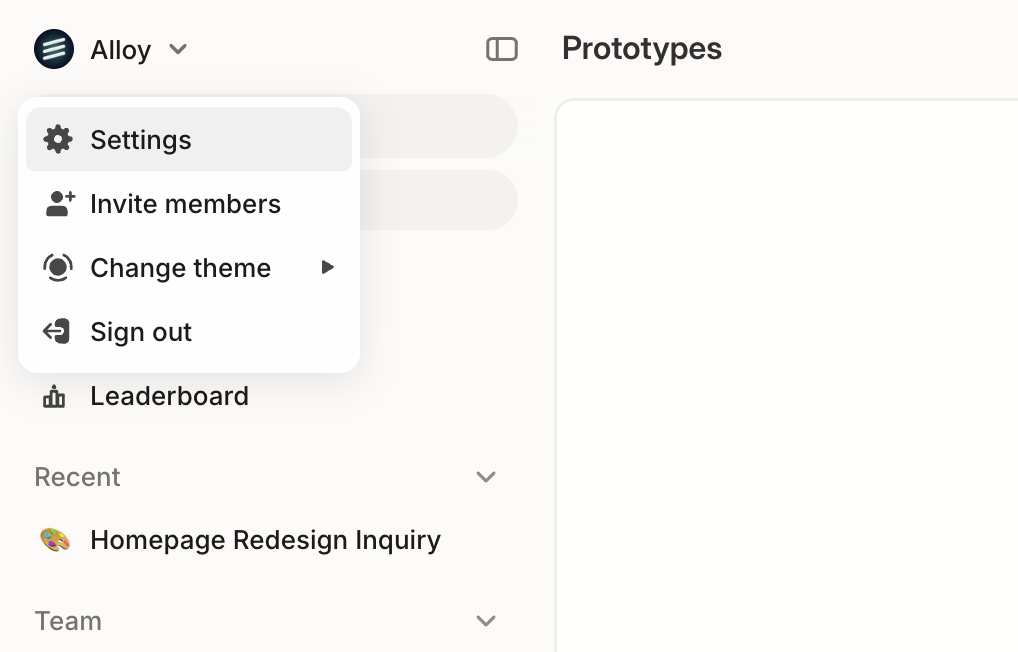
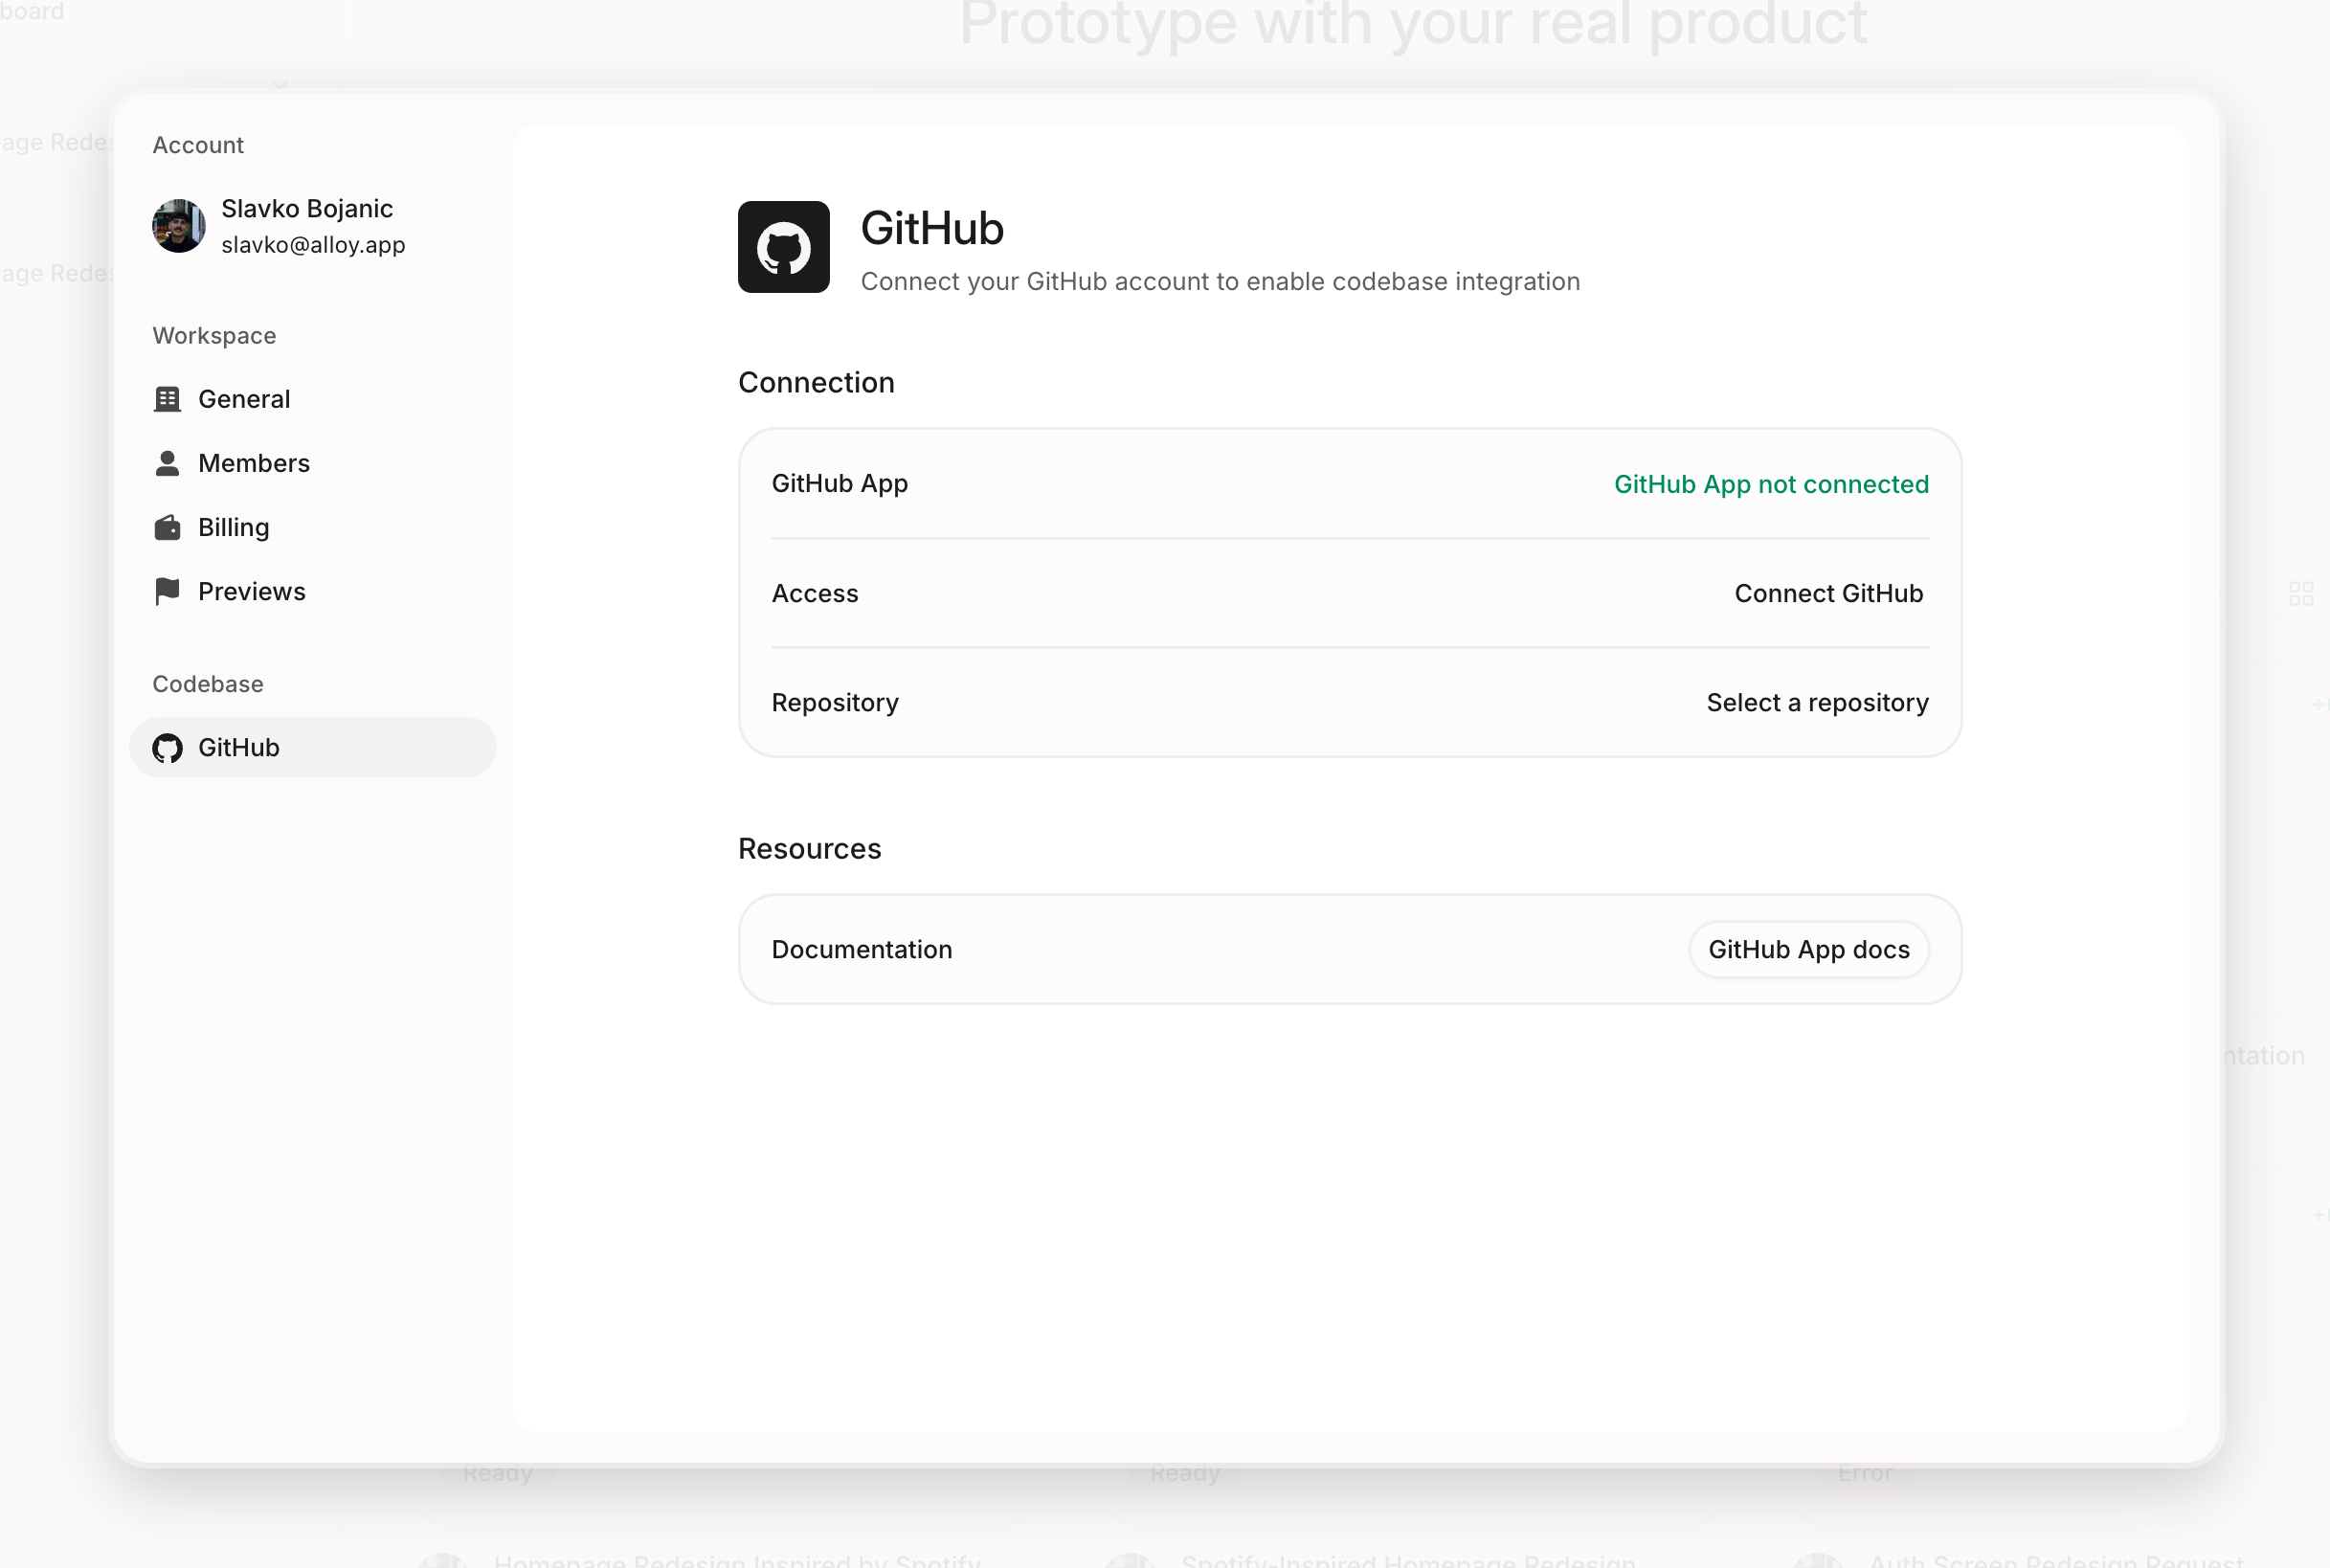
- Go to the GitHub section in workspace settings and select Connect GitHub.
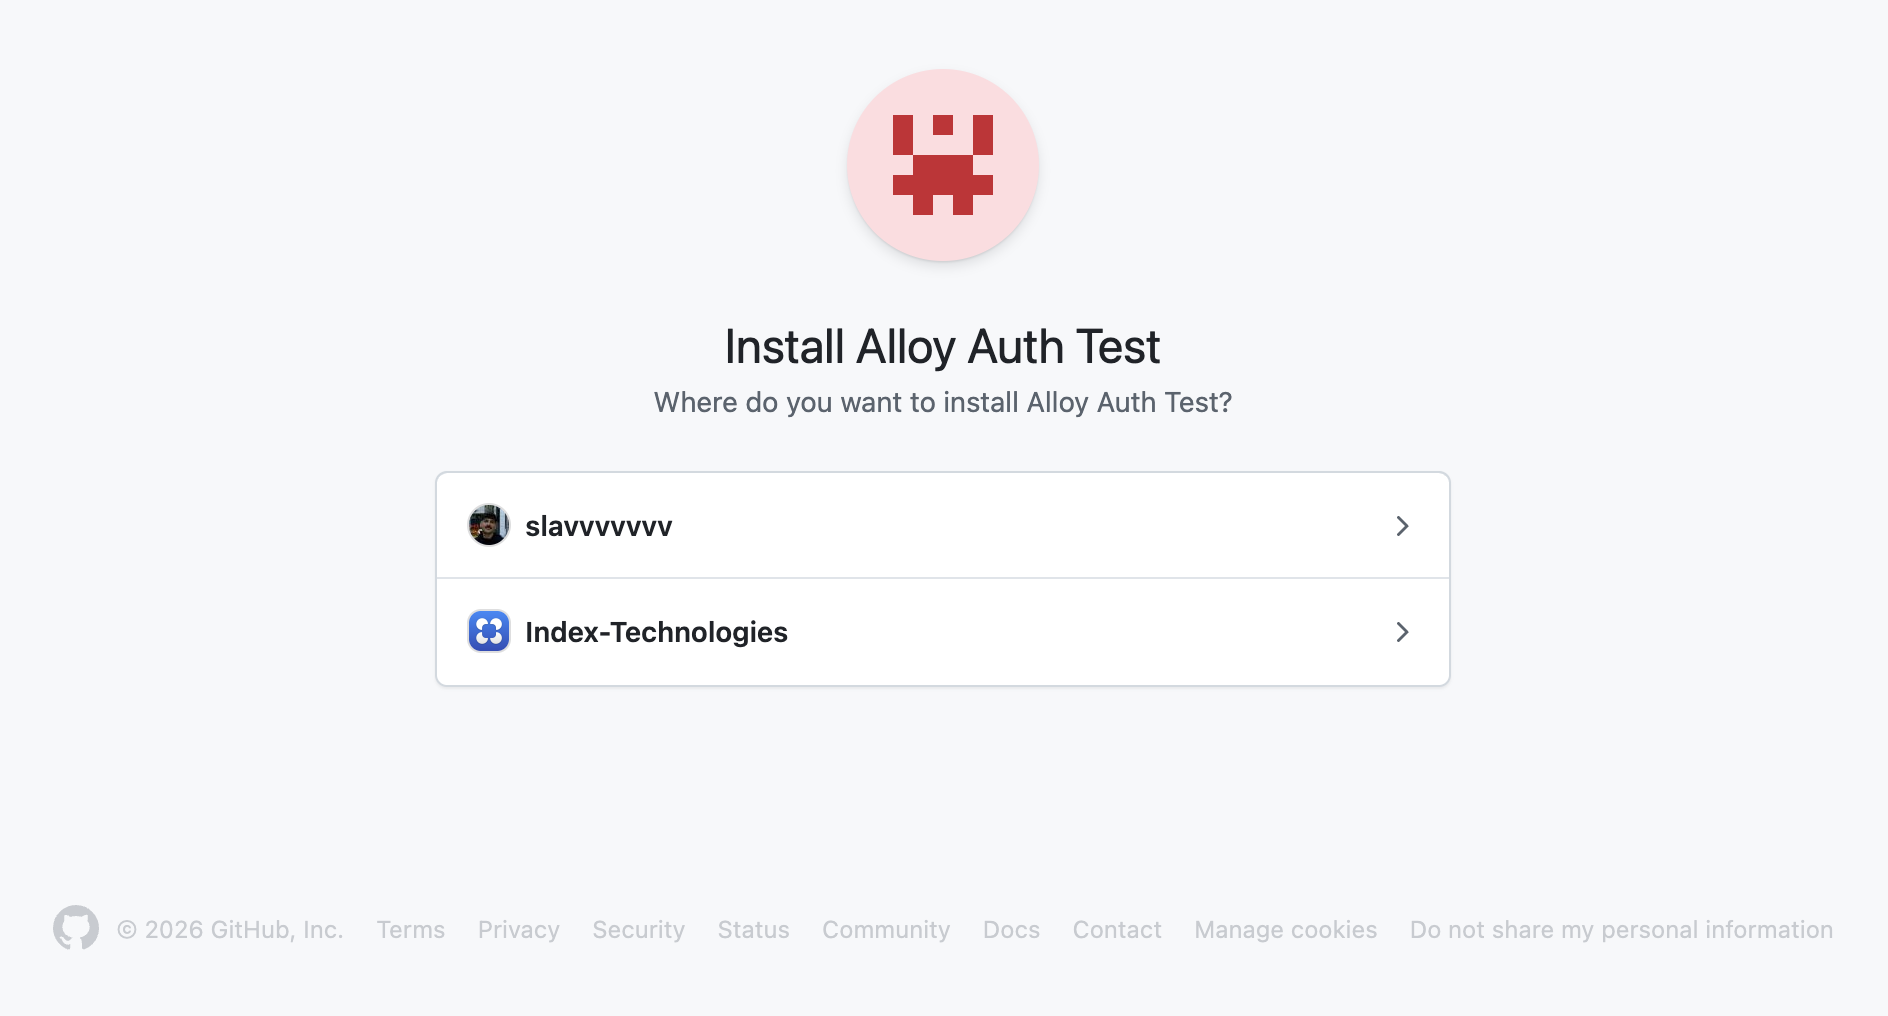
- Sign in to GitHub and choose the personal account or organization Alloy should access.
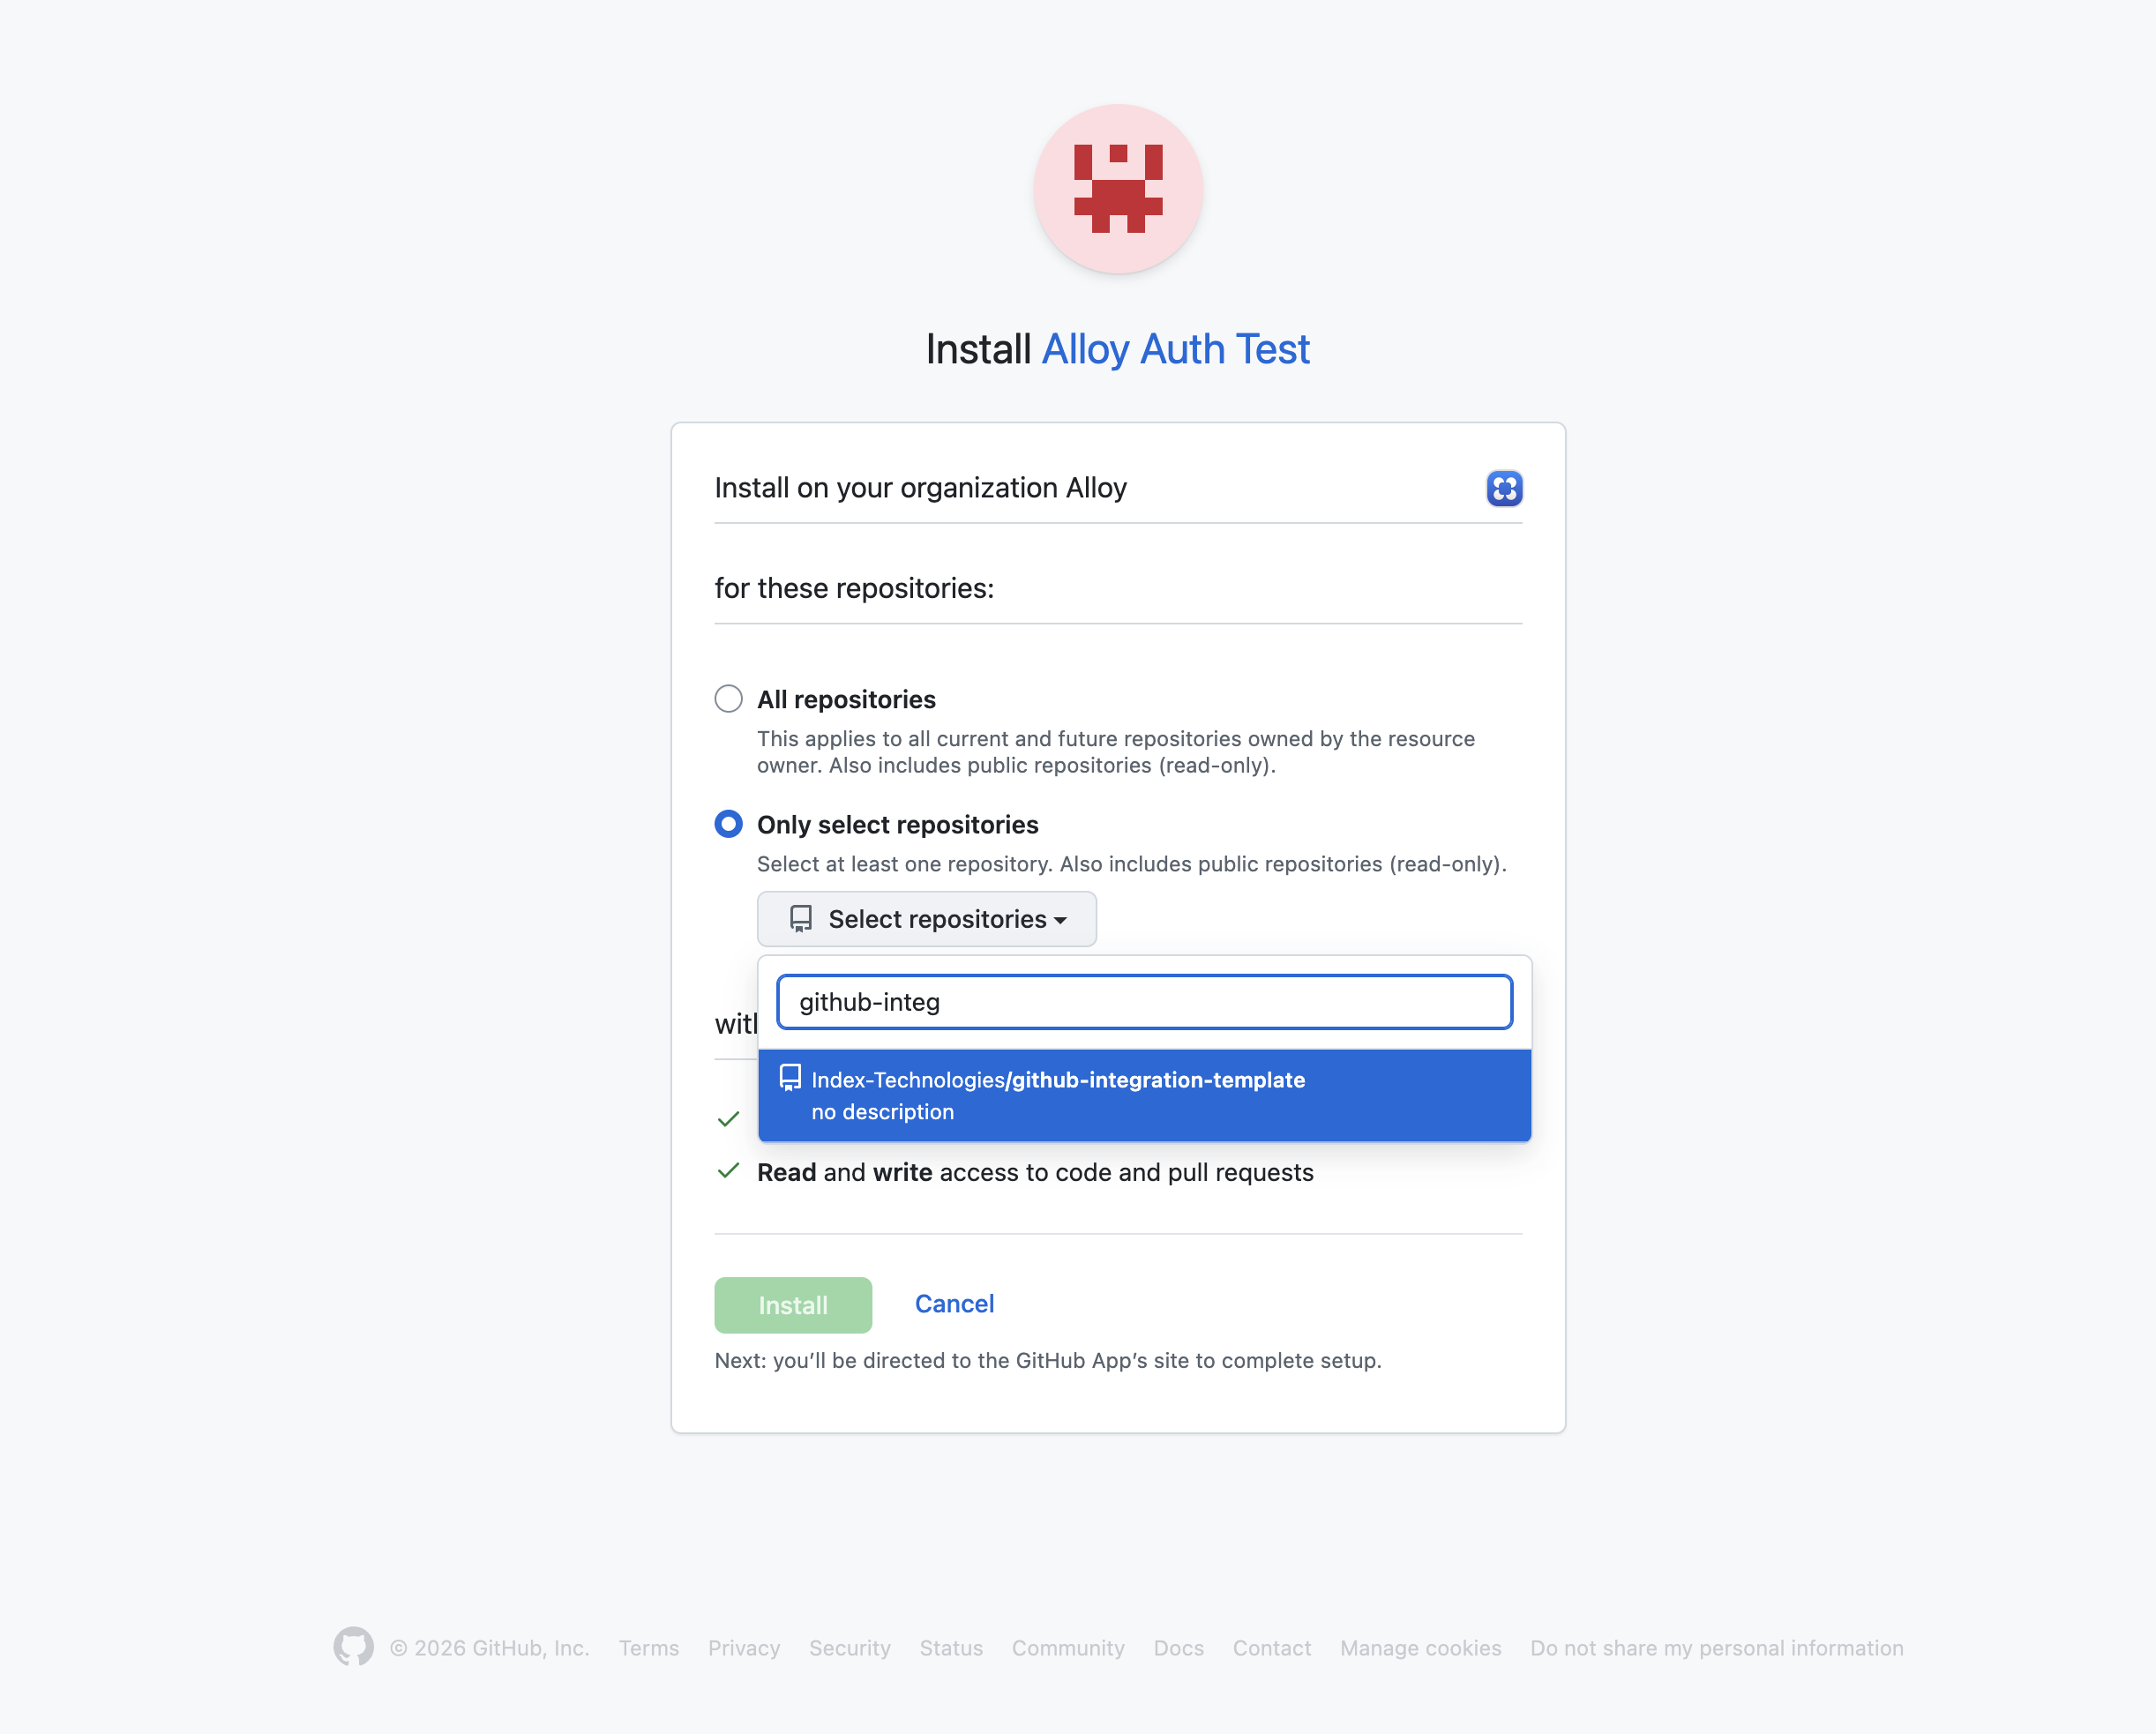
- Select the repositories you want to make available to Alloy.
- Back in Alloy, select the repository you want to work on from the list.
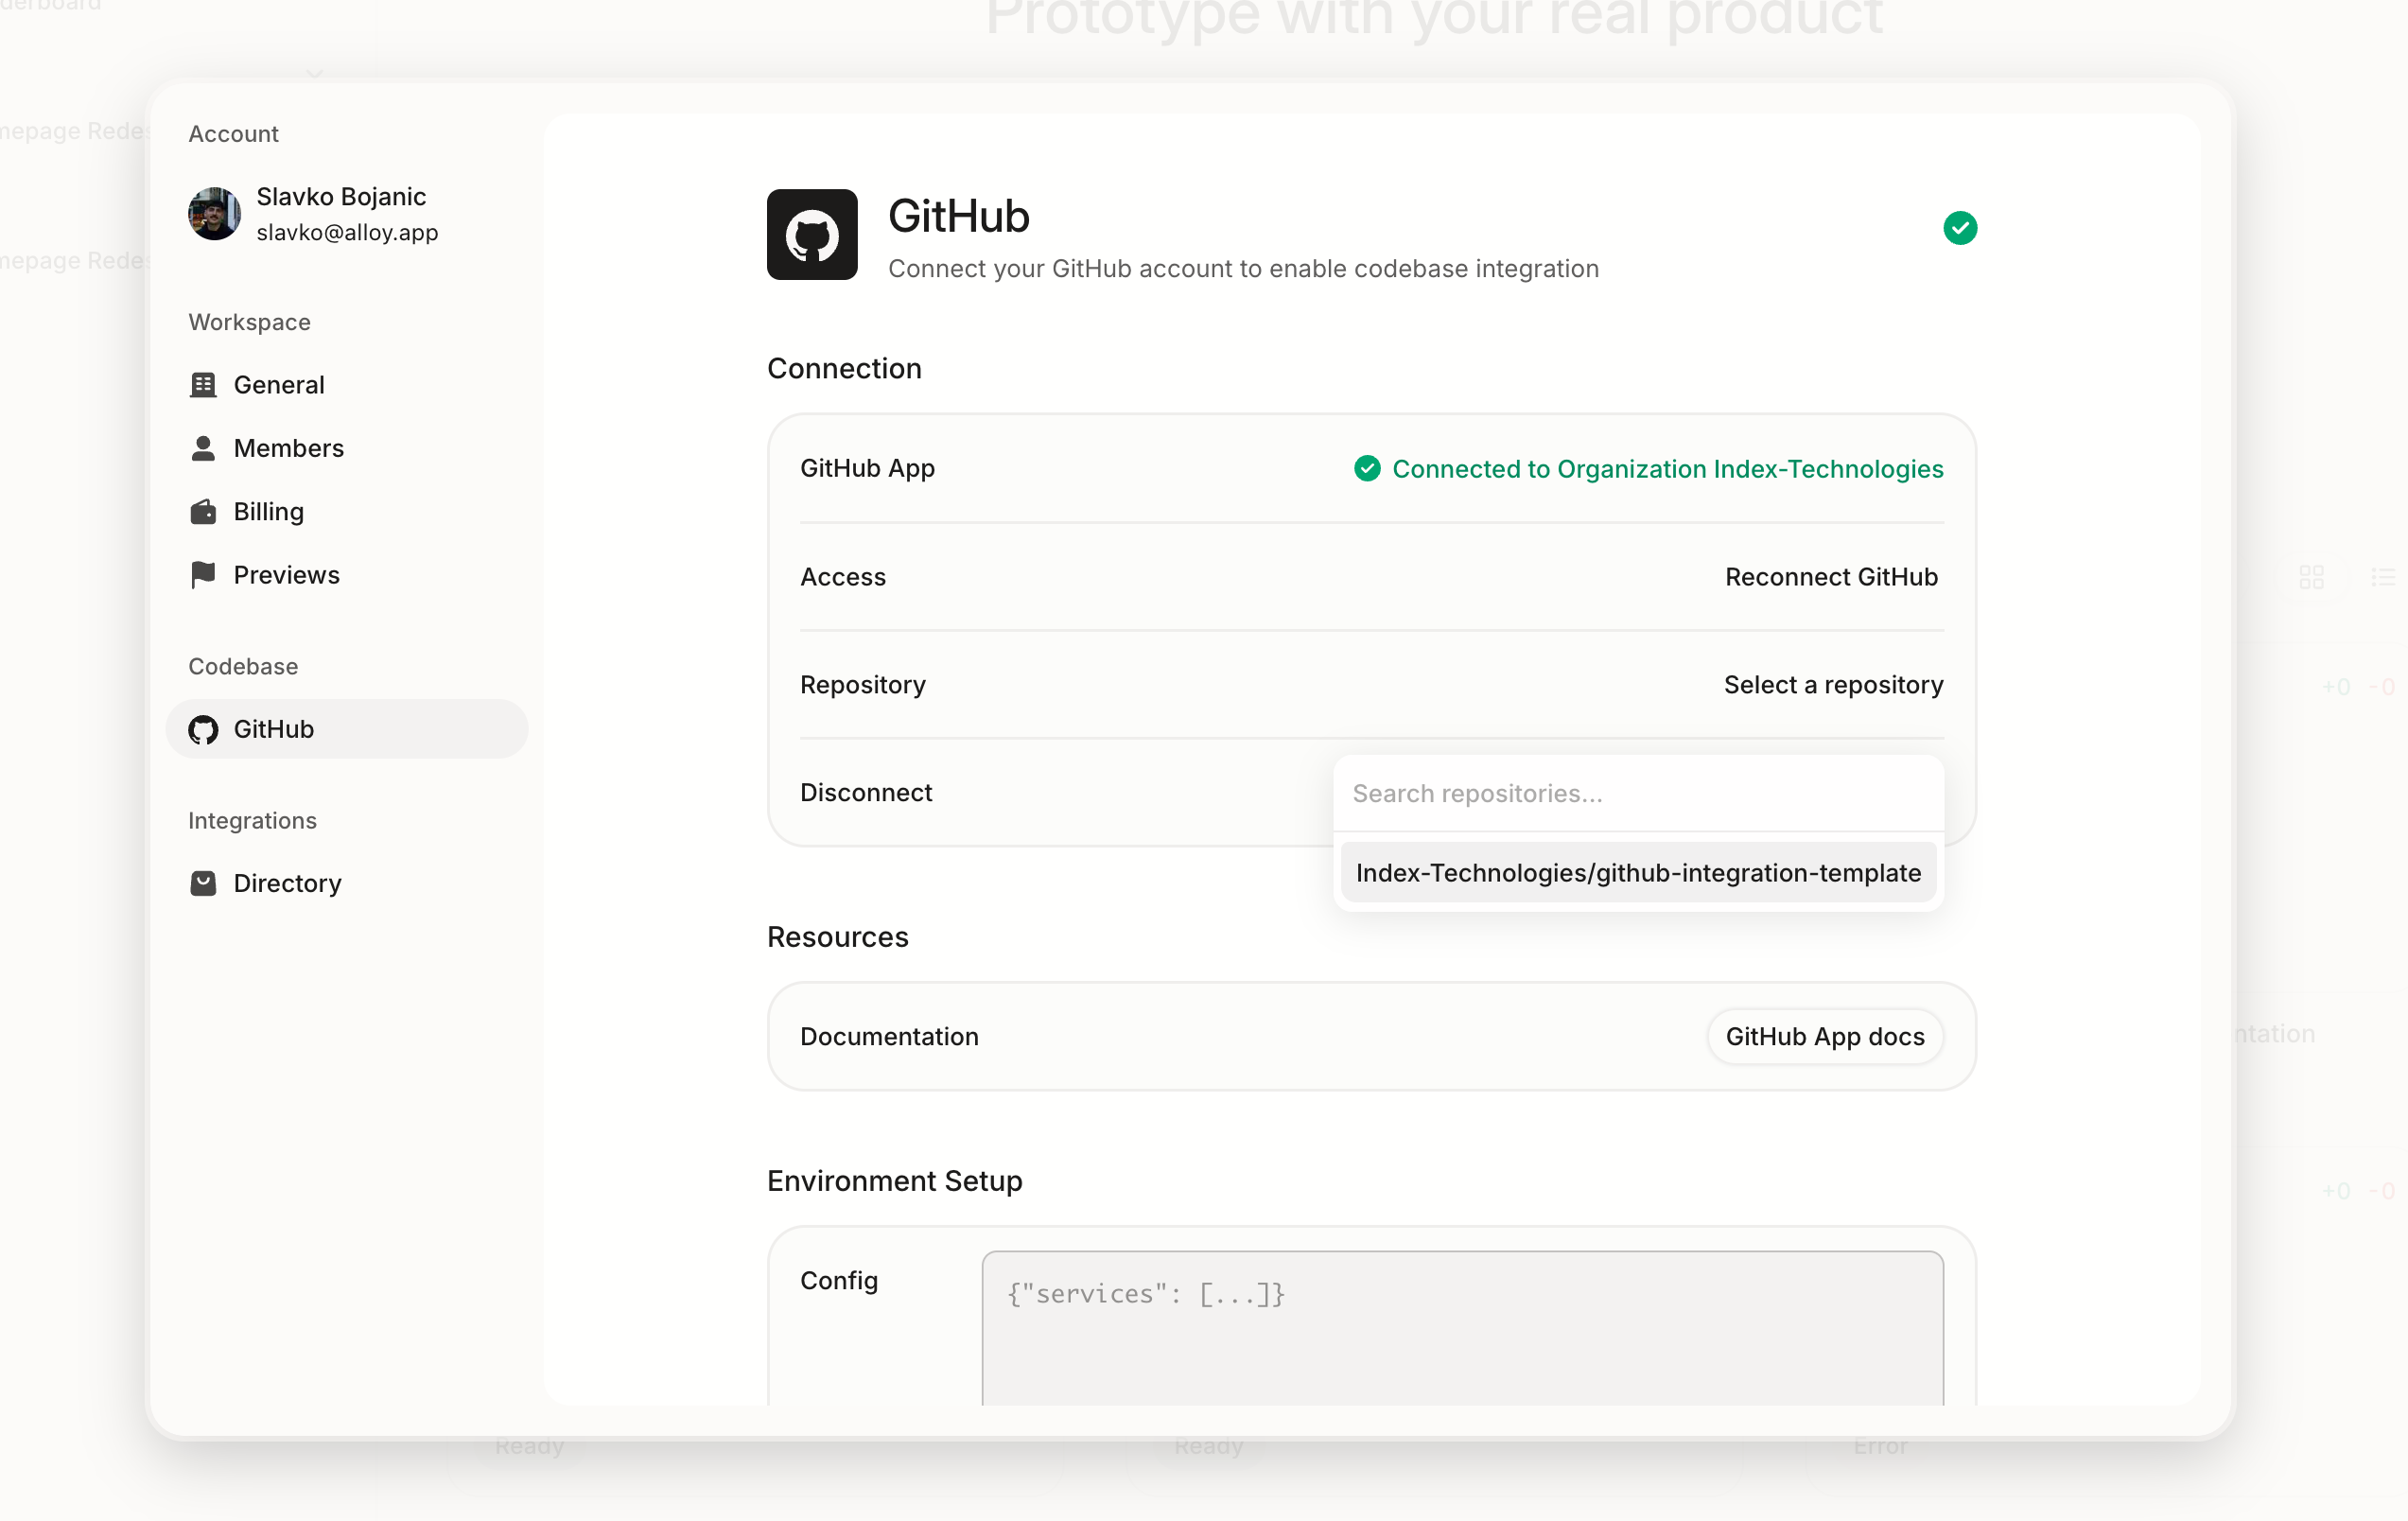
Screenshot placeholder: Add the latest repository picker screenshot here once the updated flow is finalized.
Run Workspace Setup
After choosing a repository, run Workspace Setup. Alloy opens a setup workspace, inspects the app, identifies the commands and services needed to run it, and iterates on a Docker Compose configuration until the app can render in an Alloy preview.
- In workspace settings, go to Resources and select Start on Workspace Setup.
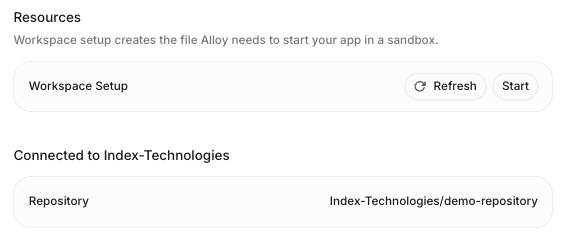
- Wait for Alloy to finish inspecting the repository. When setup is complete, chat confirms the workspace is validated and the Preview tab shows your app running.
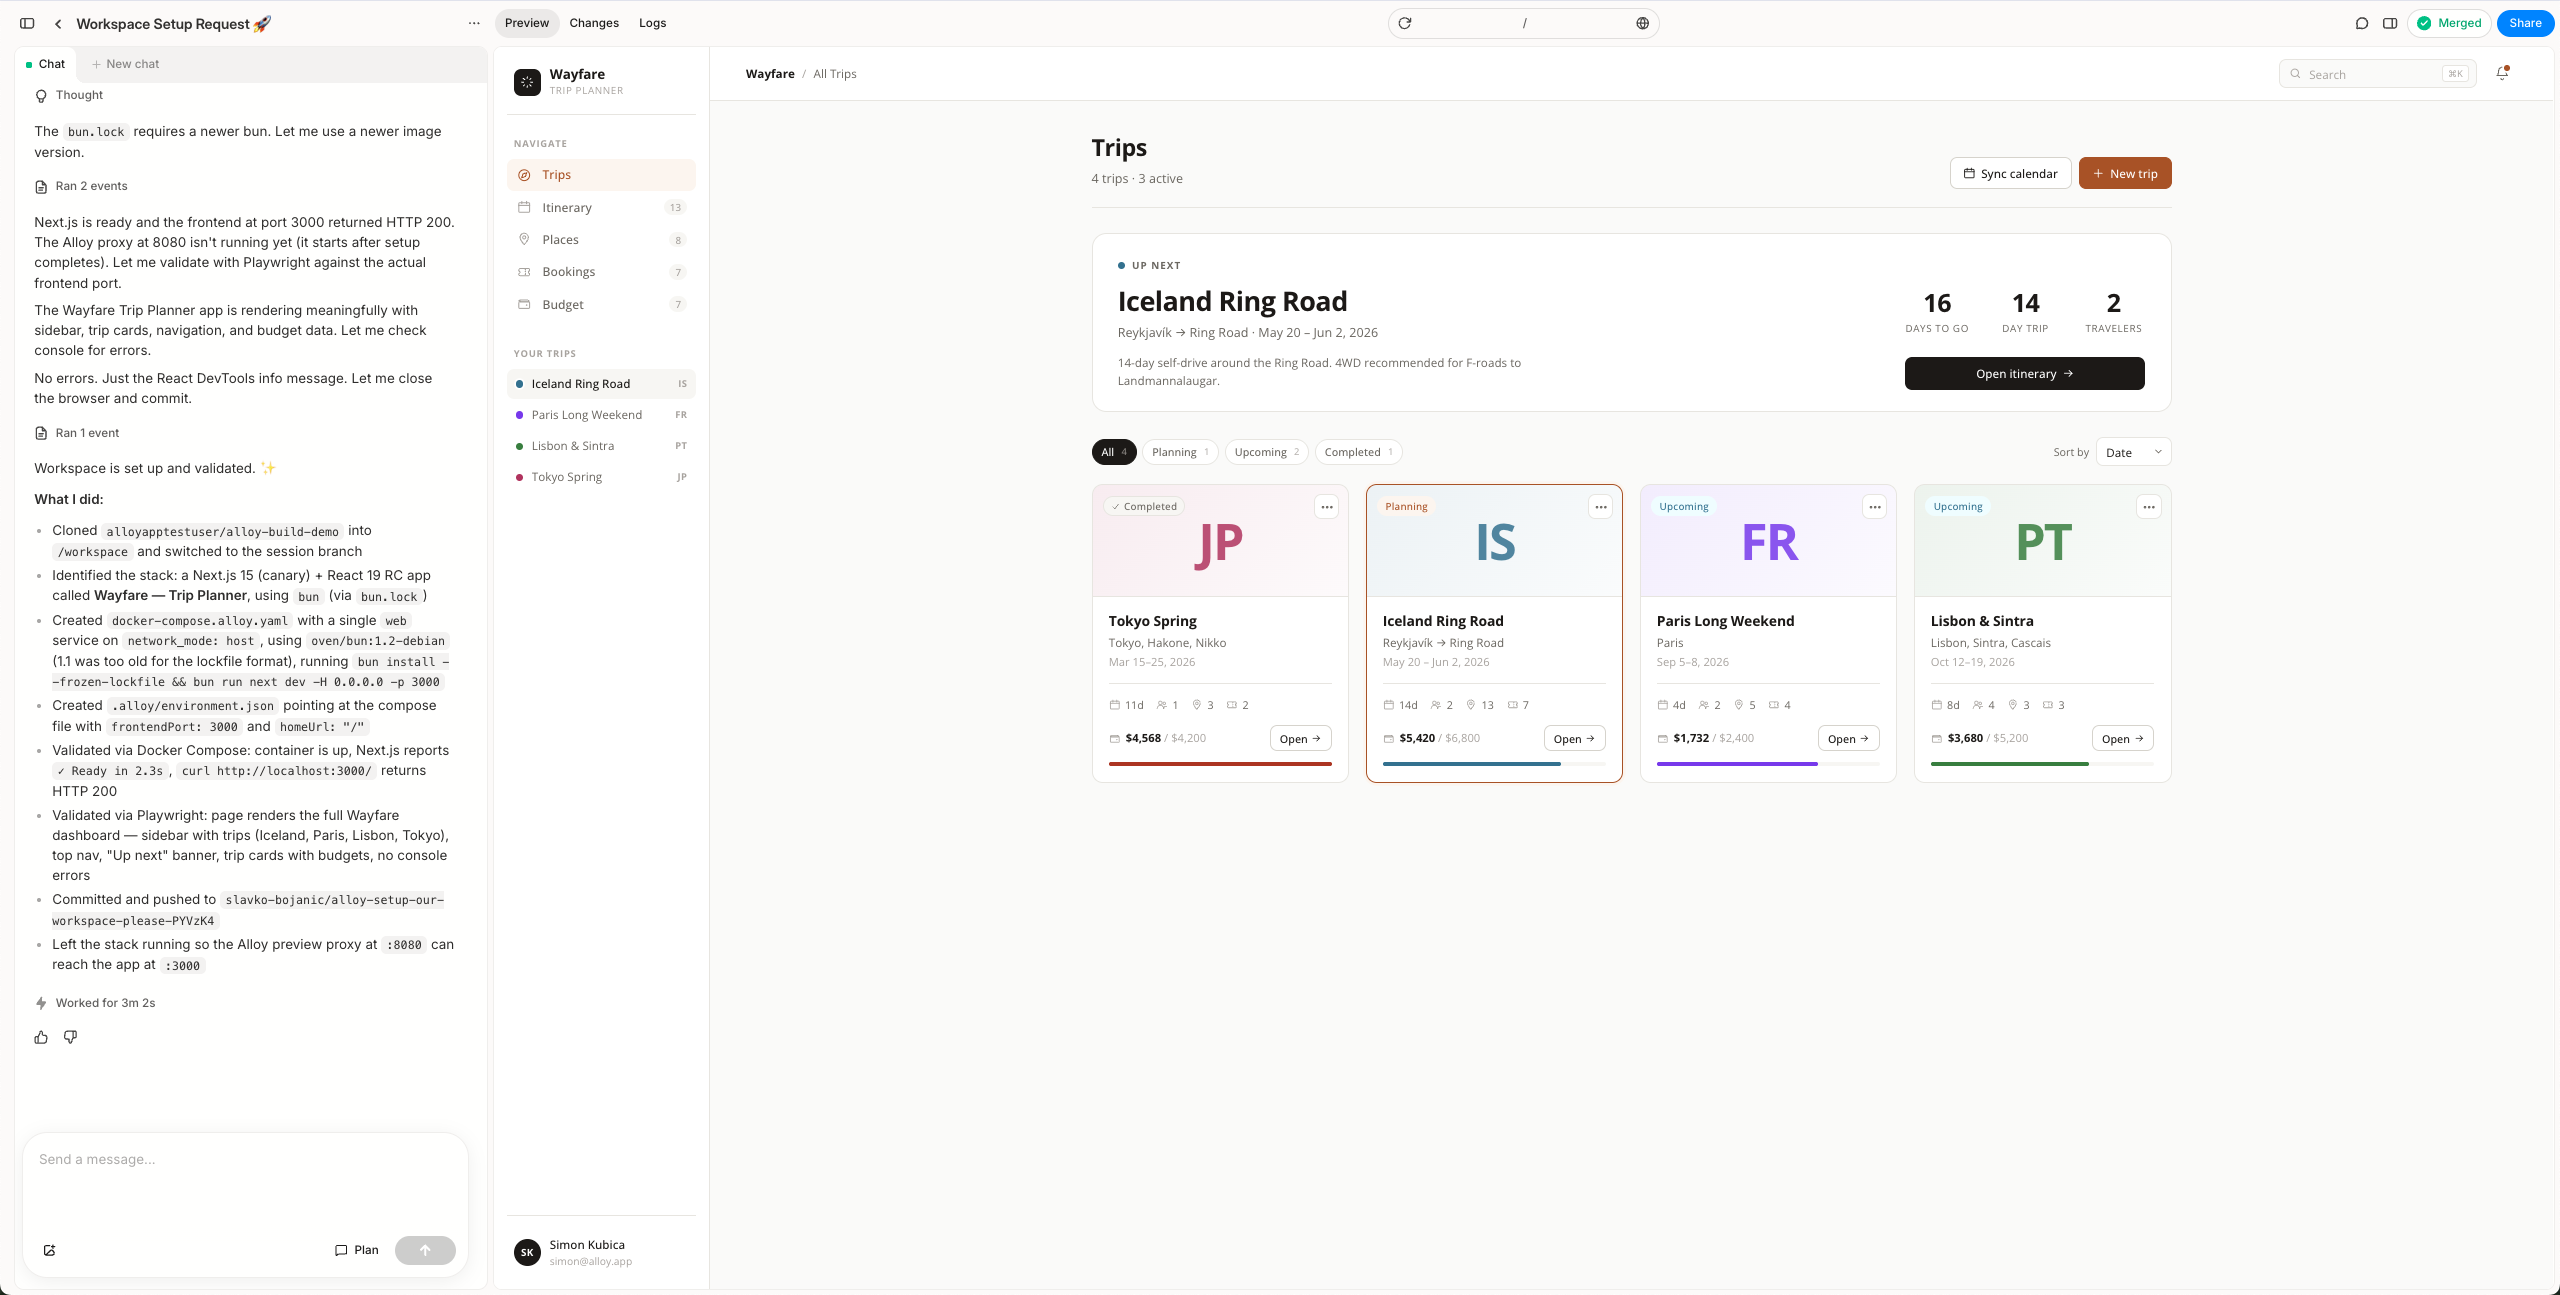
- Select Push Code in the top-right corner to push the generated changes and open the pull request.
After you push, Alloy opens a pull request for you to review. The expected output is:
- A pull request that contains the generated workspace configuration.
- A checked-in compose file. In most new setups this will be
docker-compose.alloy.yaml, but it can be another repo-relative path if that is the better fit. - A checked-in
.alloy/environment.jsonfile that points to that compose file and, when needed, tells Alloy which frontend port to proxy.
Example .alloy/environment.json:
{
  "dockerComposePath": "./docker-compose.alloy.yaml",
  "frontendPort": 3000,
  "homeUrl": "/"
}
For compose-based setups, dockerComposePath is required. Add frontendPort when the app listens on a port other than 8080; if it is omitted, Alloy assumes the frontend is already available on 8080 and skips the preview proxy. Add homeUrl when the app should open somewhere other than /, and add loginScript only when the preview needs a scripted login step.
Checked-in environment config becomes the source of truth
When Alloy sees a checked-in .alloy/environment.json, the Environment configuration section in GitHub settings becomes read-only. This prevents the checked-in repo config and the database copy from drifting apart.
The settings pane will show a subdued message explaining that Alloy found .alloy/environment.json in the repository. Alloy also syncs the contents of that file back into the stored environment_config value so previews and backend jobs stay aligned.
If the checked-in file is invalid JSON, Alloy keeps the section locked and shows an error until the file is fixed or removed from the repository.
Screenshot placeholder: Add the locked Environment configuration section screenshot here.
Gotchas
- Modal's Docker-in-Sandboxes support is still in alpha. See Docker in Sandboxes and the broader Sandboxes docs.
- Docker daemon state is not preserved in Modal filesystem snapshots. If a workspace depends on Docker, the daemon may need to start again when a sandbox resumes.
- Alloy sandboxes enable Docker through Modal's Docker-in-Sandboxes support, but Docker validation can still need a daemon started with flags like
dockerd --iptables=false --bridge=none. - That daemon workaround is only for sandbox reliability. Your checked-in compose file may still need
network_mode: hostif the repository's runtime requires it. - If your compose setup needs secrets or API keys, add them in Alloy's Secrets section before expecting the preview to boot cleanly.
docker compose up --waitonly blocks on services with ahealthcheck. Services without one may still be installing dependencies when Compose reports success. See Common questions for details.
Common questions
What if my repository already has a compose file?
Reuse it if it is the right setup for Alloy previews. The important part is that .alloy/environment.json points to the actual checked-in compose path relative to the repo root.
What if the repository does not appear in the picker? Check that you connected the correct personal account or organization, and that Alloy has access to the repository in GitHub. If your org requires admin approval for GitHub Apps, ask an org owner to approve the install and then refresh the repository list in Alloy.
Can I still type JSON into Environment configuration manually?
Yes, but only when .alloy/environment.json is not present. Once the checked-in file exists, Alloy treats it as canonical and locks manual editing.
What keys can .alloy/environment.json include?
Use dockerComposePath for the repo-relative compose file path, frontendPort for the port Alloy should proxy, homeUrl for the first route to open, and loginScript only when Alloy needs a scripted login step. Reserve port 8080 for Alloy; if your app defaults to 8080, configure it to listen on another stable port and set that port as frontendPort.
The schema is:
{
  "$schema": "https://json-schema.org/draft/2020-12/schema",
  "type": "object",
  "additionalProperties": false,
  "required": ["dockerComposePath", "frontendPort"],
  "properties": {
    "dockerComposePath": {
      "type": "string",
      "description": "Repo-relative path to the checked-in Docker Compose file, for example docker-compose.alloy.yaml."
    },
    "frontendPort": {
      "type": "integer",
      "minimum": 1,
      "maximum": 65535,
      "description": "Port where the user-facing frontend listens inside the sandbox, for example 3000, 5173, or 8000. Do not use 8080; Alloy owns 8080 and proxies it to this port."
    },
    "homeUrl": {
      "type": "string",
      "description": "Path-only route to open after the stack starts, such as /, /auth/login, or /api/dev/auth."
    },
    "loginScript": {
      "type": "string",
      "description": "Optional JavaScript injected once into the proxied app page when needed to reach a usable logged-in state."
    }
  }
}
Do I still need services or images in the environment config?
No for new setups. Docker Compose is the forward path, so new Workspace Setup flows should use dockerComposePath instead.
Why does Docker Compose finish before my app is actually ready?
Alloy starts your stack with docker compose up --wait. Compose only waits on services that define a healthcheck. Services without one are treated as ready once the container is running, which can happen before long-running startup commands finish—common examples include npm install, Gradle builds, or database migrations inside the container command.
Add a healthcheck to any service Alloy should wait for before opening the preview. Infrastructure services like Postgres usually need one; app services should health-check the port or endpoint they serve on once installs are done.
Example for Postgres:
healthcheck:
  test: ["CMD-SHELL", "pg_isready -U postgres"]
  interval: 5s
  timeout: 3s
  retries: 30
During workspace image pre-warming, the same rule applies: only services with a healthcheck block the bake from completing.